Cook this: Almond Amaretto cake

IMG_8348

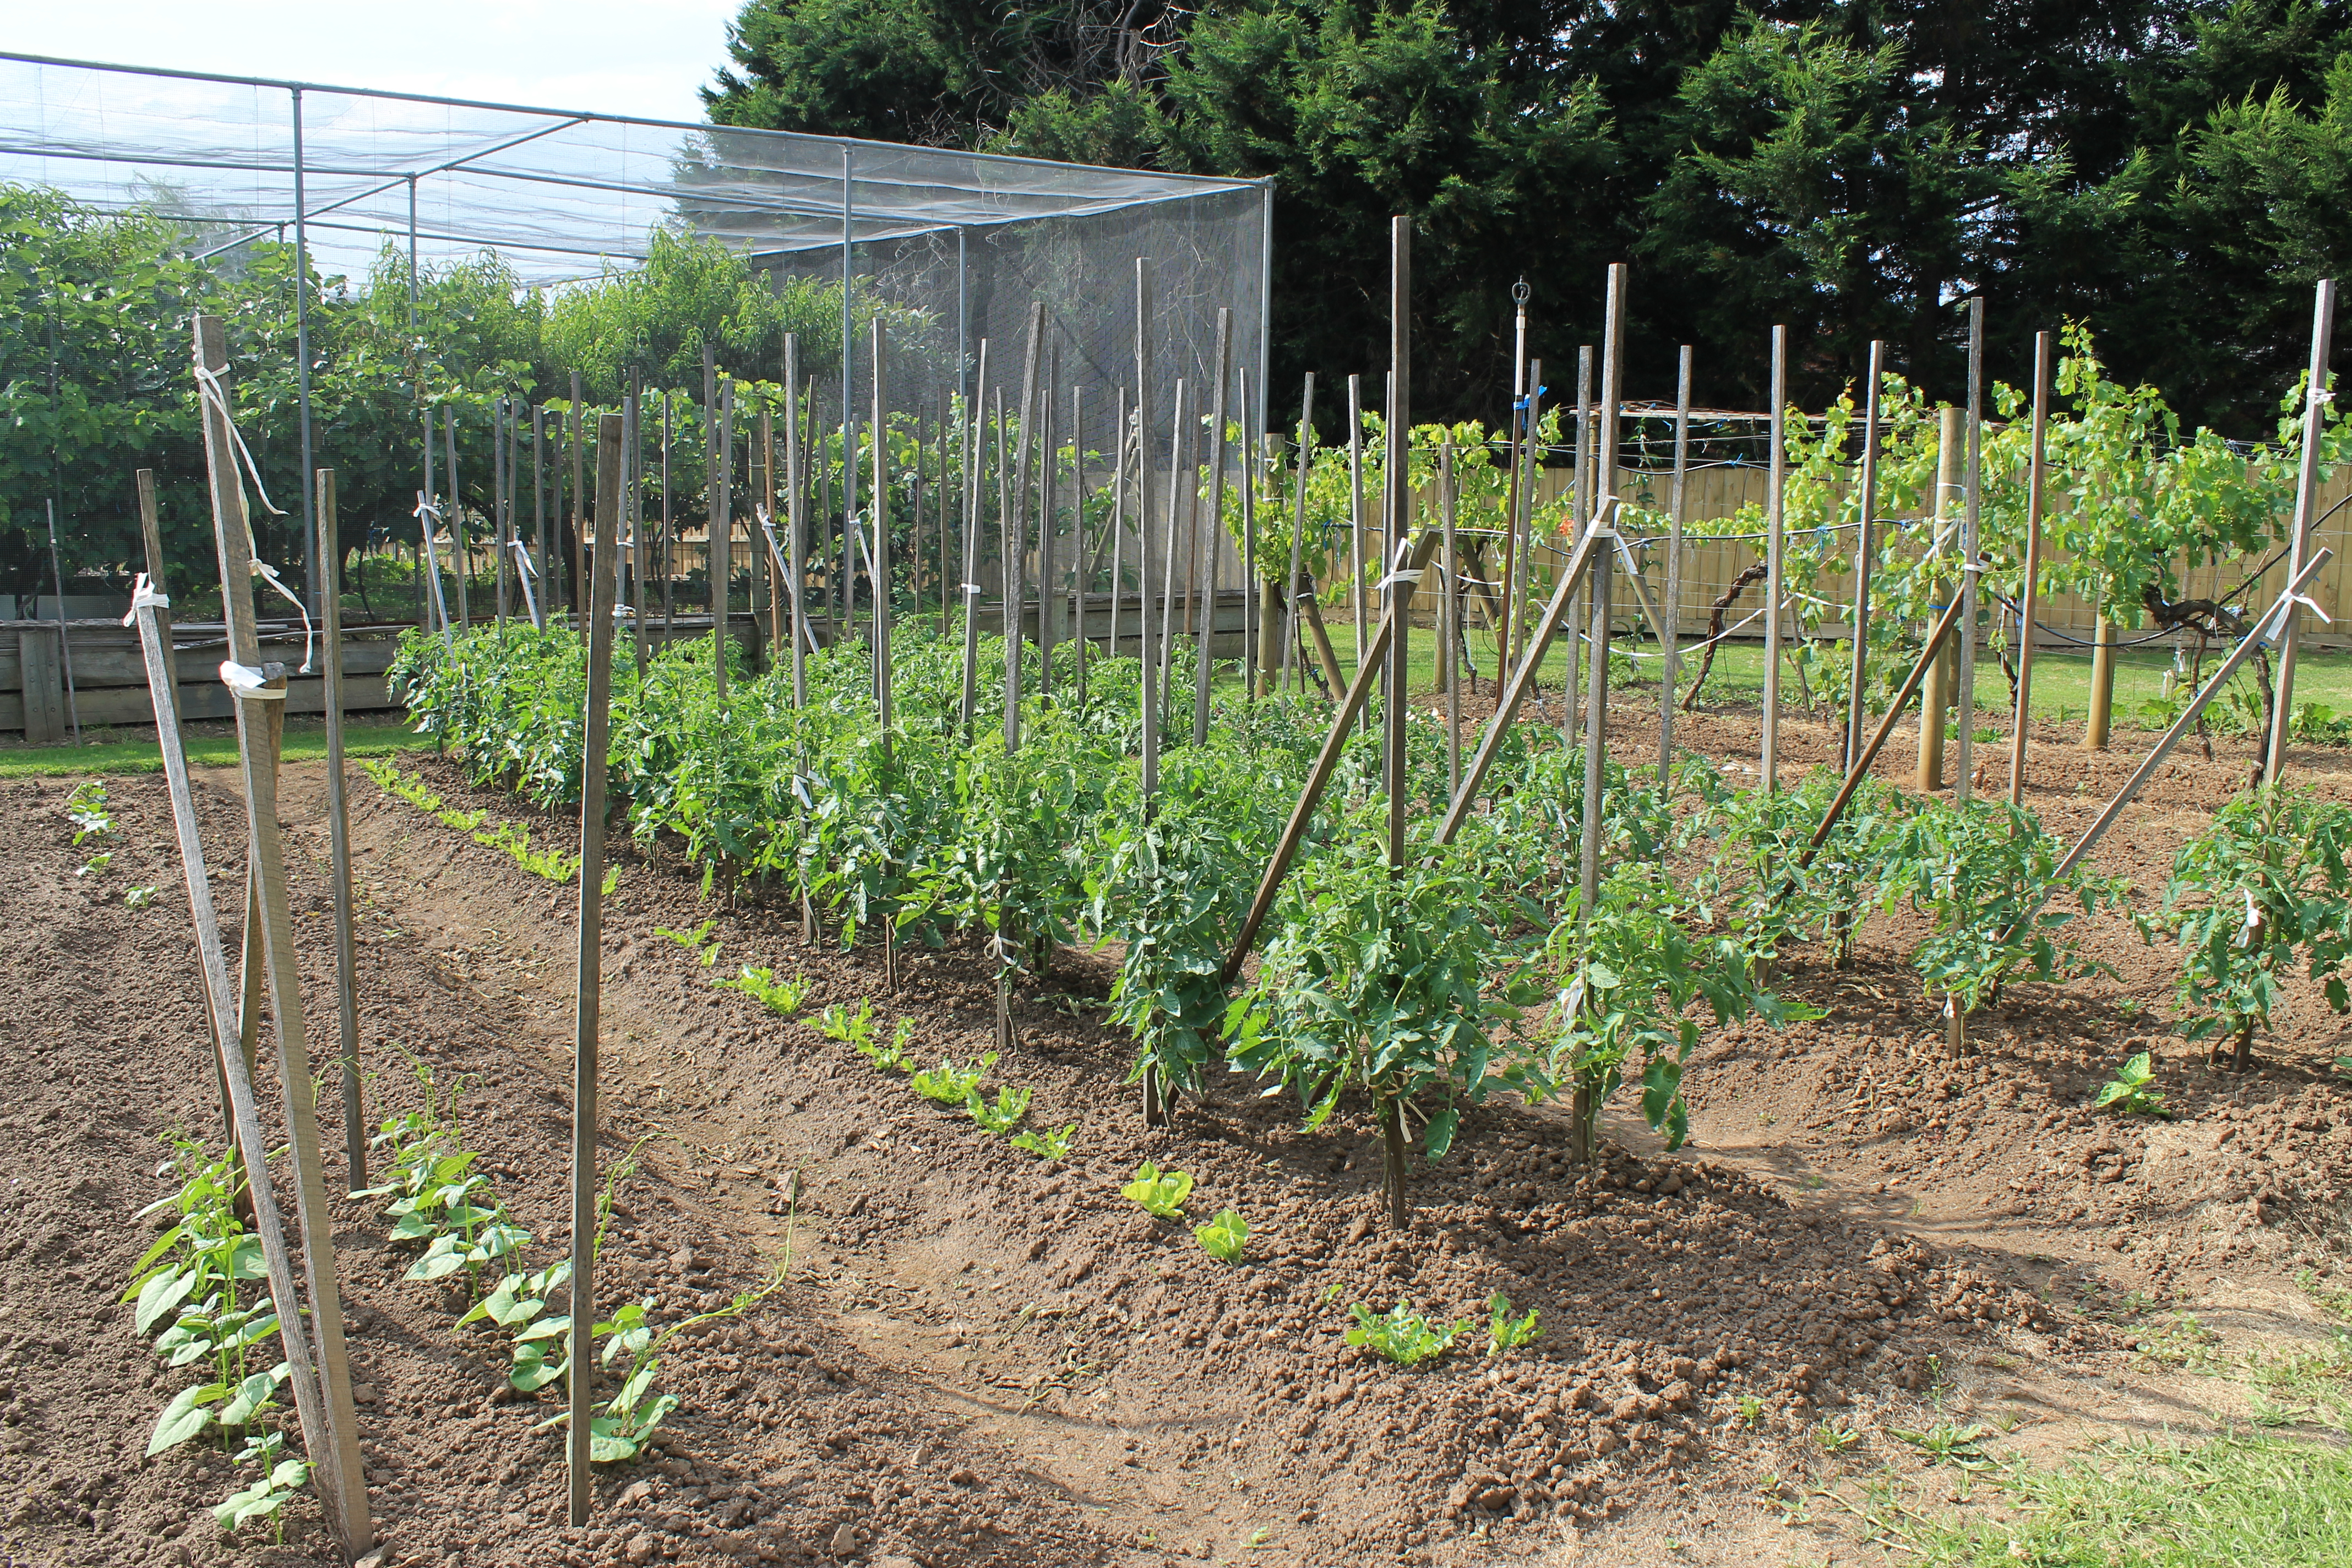
Growing up, Sundays were always “family days.” They were spent with grandparents, aunties, uncles, cousins. I’m sure this will ring true for a lot of others with an Italian background. As I’m getting older, that’s changing; I’m needing a little more time alone, time to look after me. The one thing that won’t ever change, though, that still makes me as happy and comfortable and safe as it did when I was a child, is seeing my grandparents. My paternal grandparents are two of the most incredible people I know. Well into their eighties, they are so self-sufficient it almost defies belief. That my beautiful little Nonna is still growing all of her own produce (literally everything from carrots to strawberries, zucchini to tomatoes, figs to grapes grow in their ENORMOUS garden – see below for a little bit of it), spending hours on her hands and knees digging up the sweetest carrots and that Nonno is still climbing up small step ladders to pluck me a small bowl of the figs I’ve loved since I was a tiny little person is both crazy, and at the same time, I can’t imagine it any other way.

IMG_0423

But don’t think it’s limited to fresh produce; Nonno does his own alcohol, too. A genuine purveyor of quality home brew. Wine and spirits, thank you very much. And every time we visit, we get sent home with half a car full of fresh fruit and veggies, as well as a little bit of whatever’s just been bottled; last visit was Amaretto, a sweet, almond-based liqueur. I really like Nonno’s Amaretto, particularly for use in baking. It’s insanely strong (really, I shudder to think of the alcohol percentage…), so you don’t have the problem of it all being baked out when you add some of the home brewed stuff to your cakes, which means it’s still got that distinct flavour and kick that I remember so vividly (and fondly) from all the cakes and biscuits that I used to eat when I was younger.

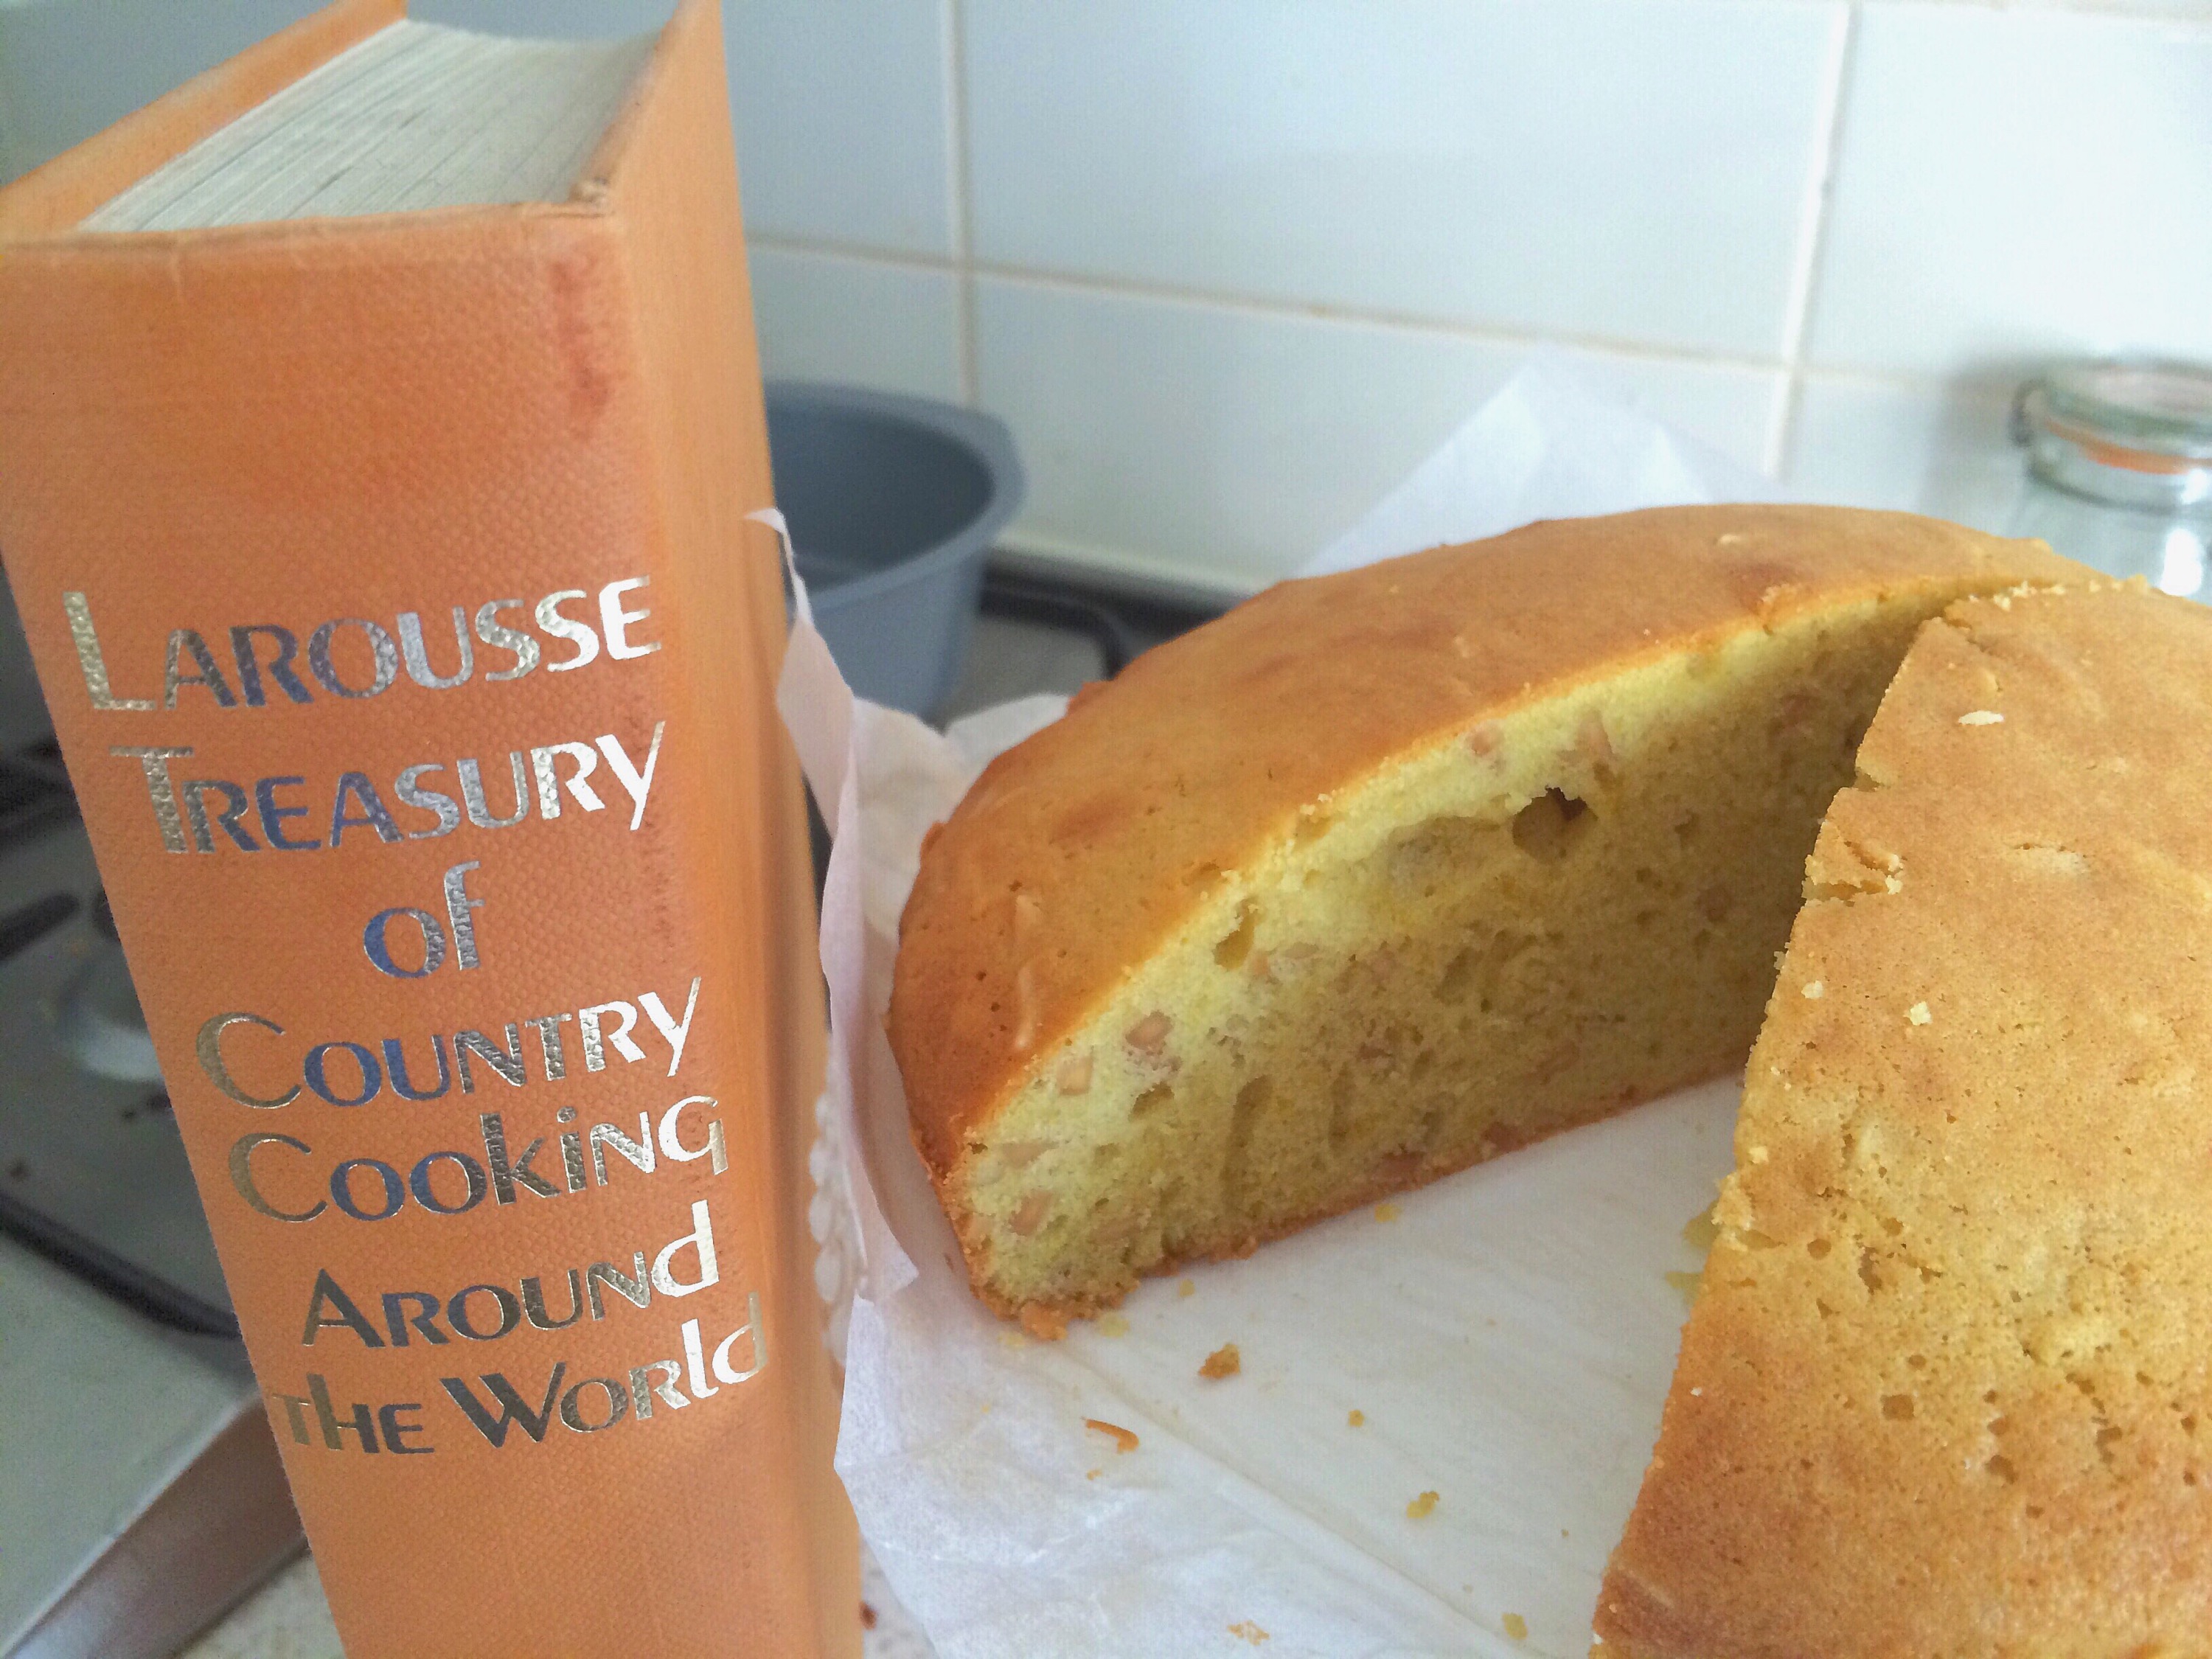
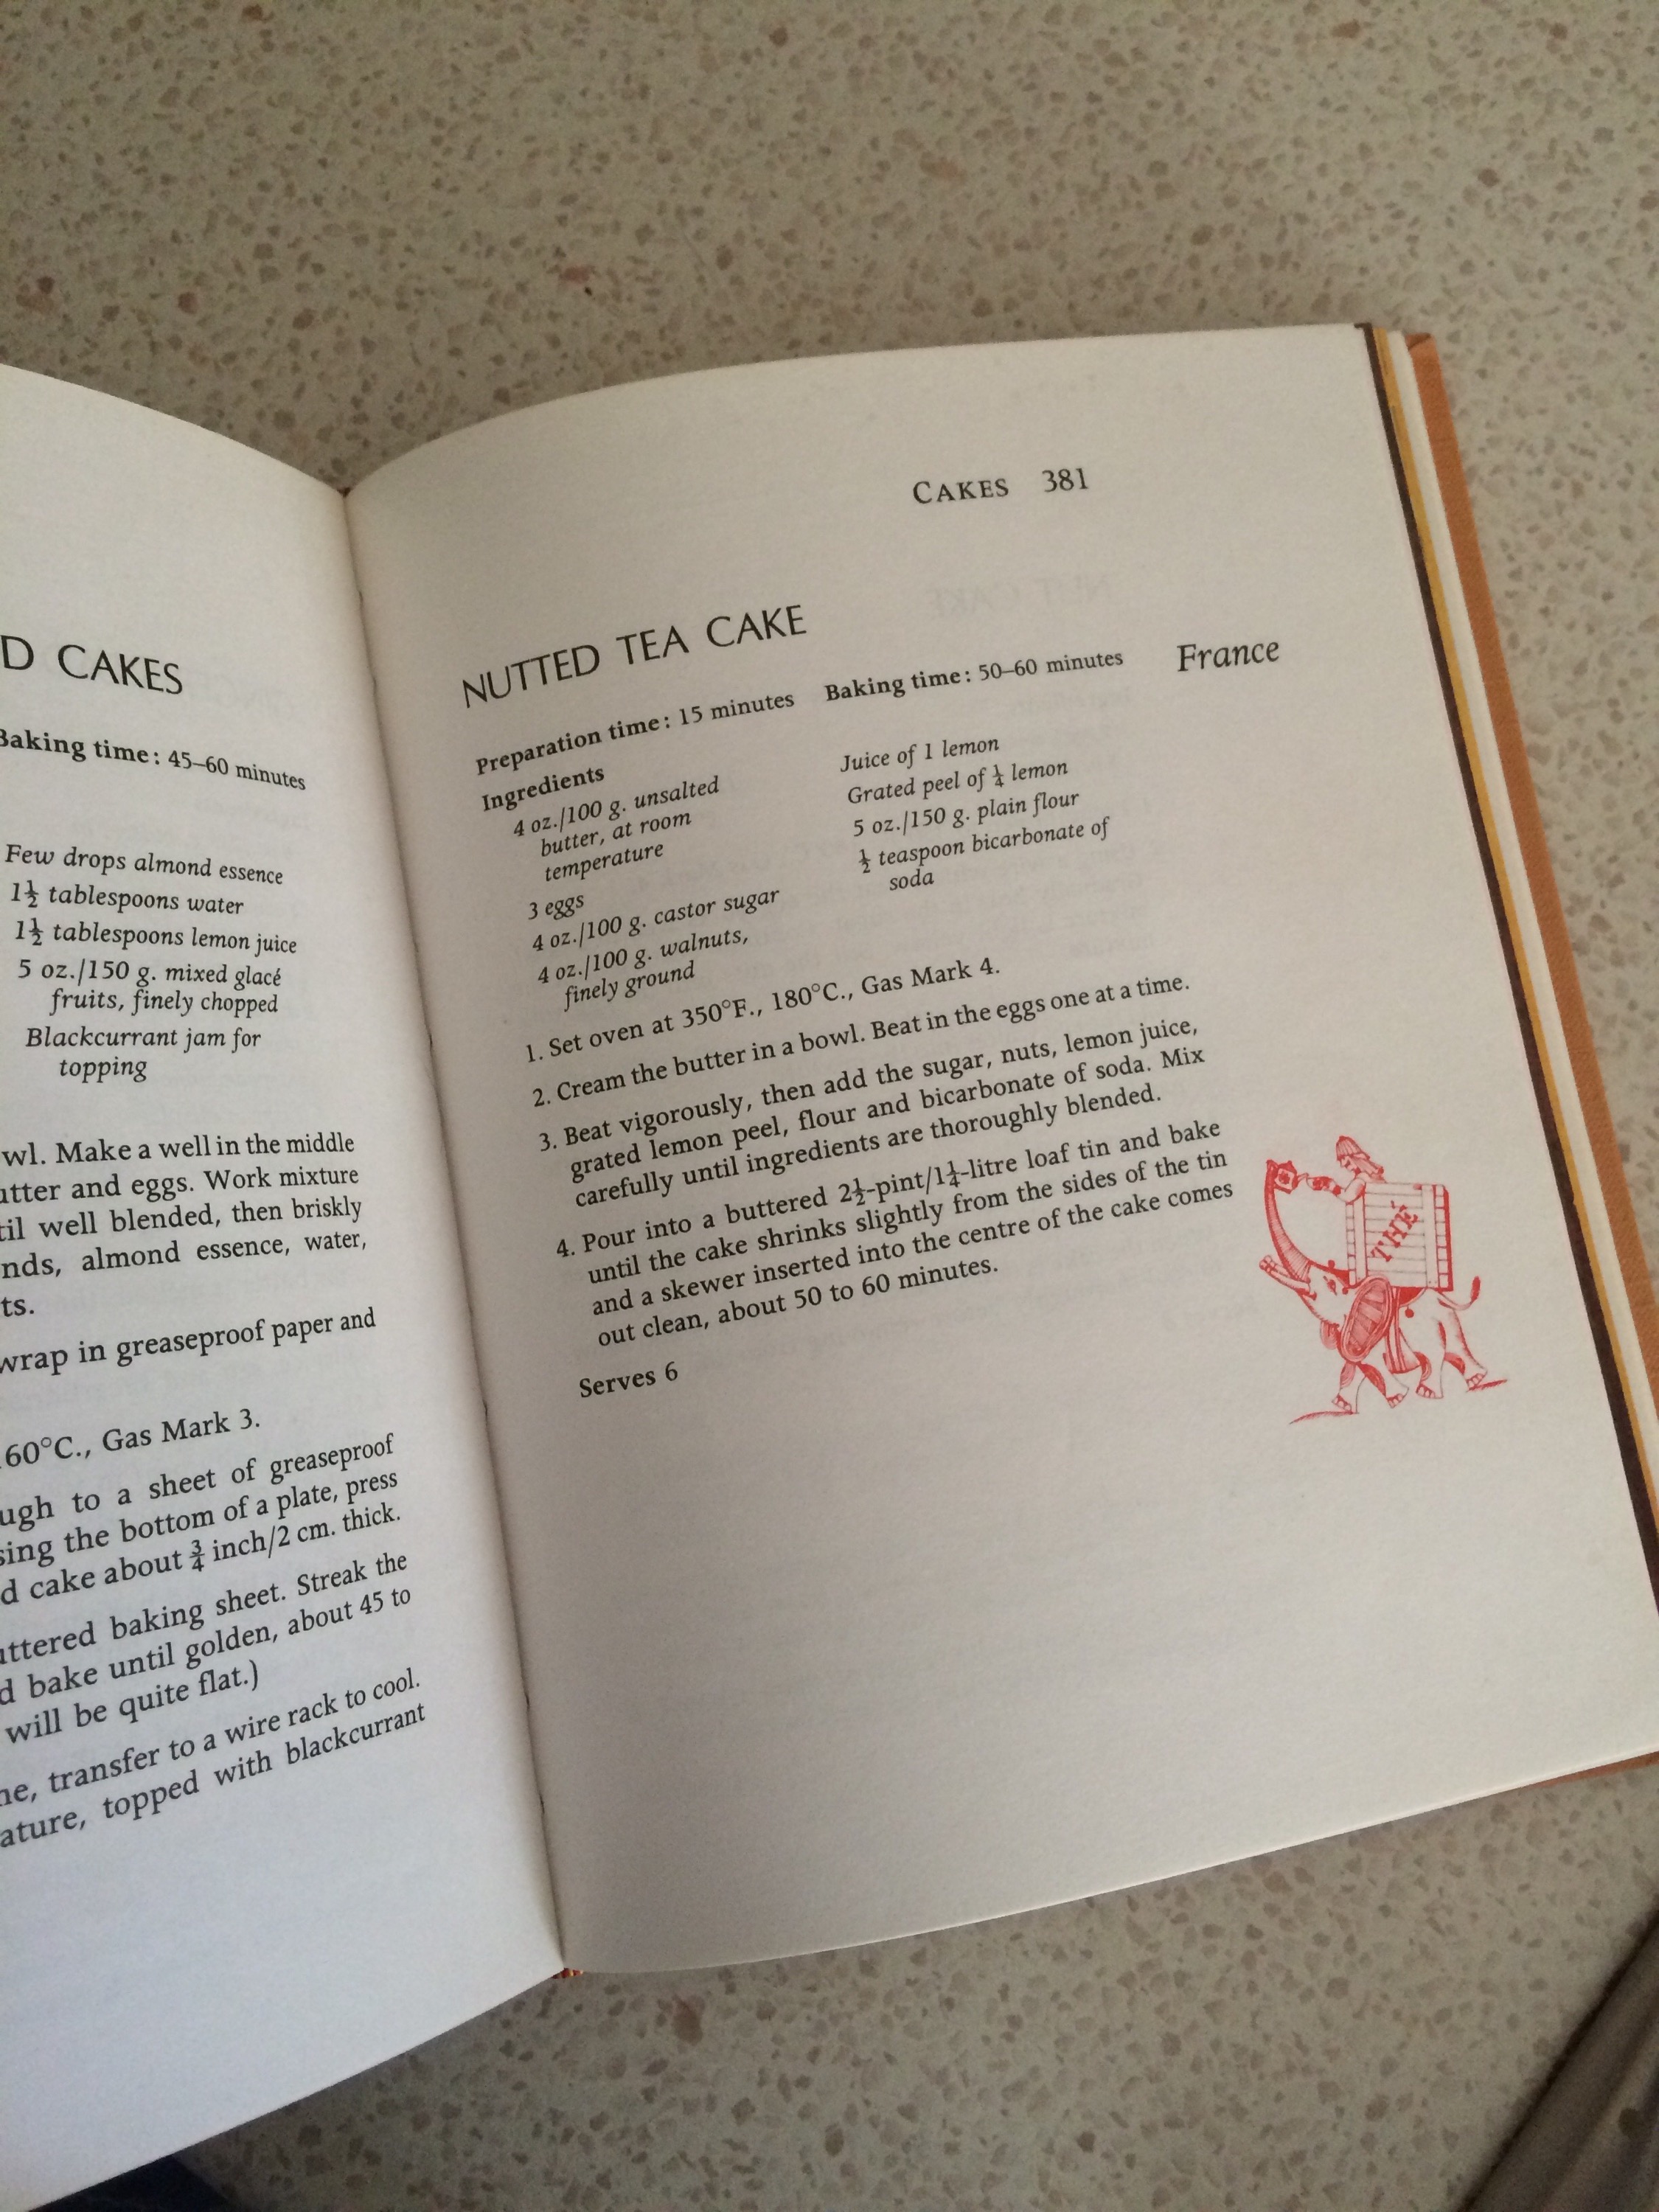
I didn’t really have a recipe in mind to use when I got the bottle from Nonno the other week, so I had a flick through one of my older cookbooks, the Larousse Treasury of Country Cooking Around The World (1975 edition), purchased for change at the Grub Street Book Shop a few years ago. I found this recipe which I screwed around with a little and ended up with a cake that Nonna and Nonno would have been pretty happy with, had husband and I not eaten it all within 48 hours.

IMG_8343

What I changed:

– Swapped the walnuts out for toasted, slivered almonds (left whole, not ground)

– Used the juice and peel of an orange instead of a lemon

– Added a standard shot glass of Nonno’s Amaretto


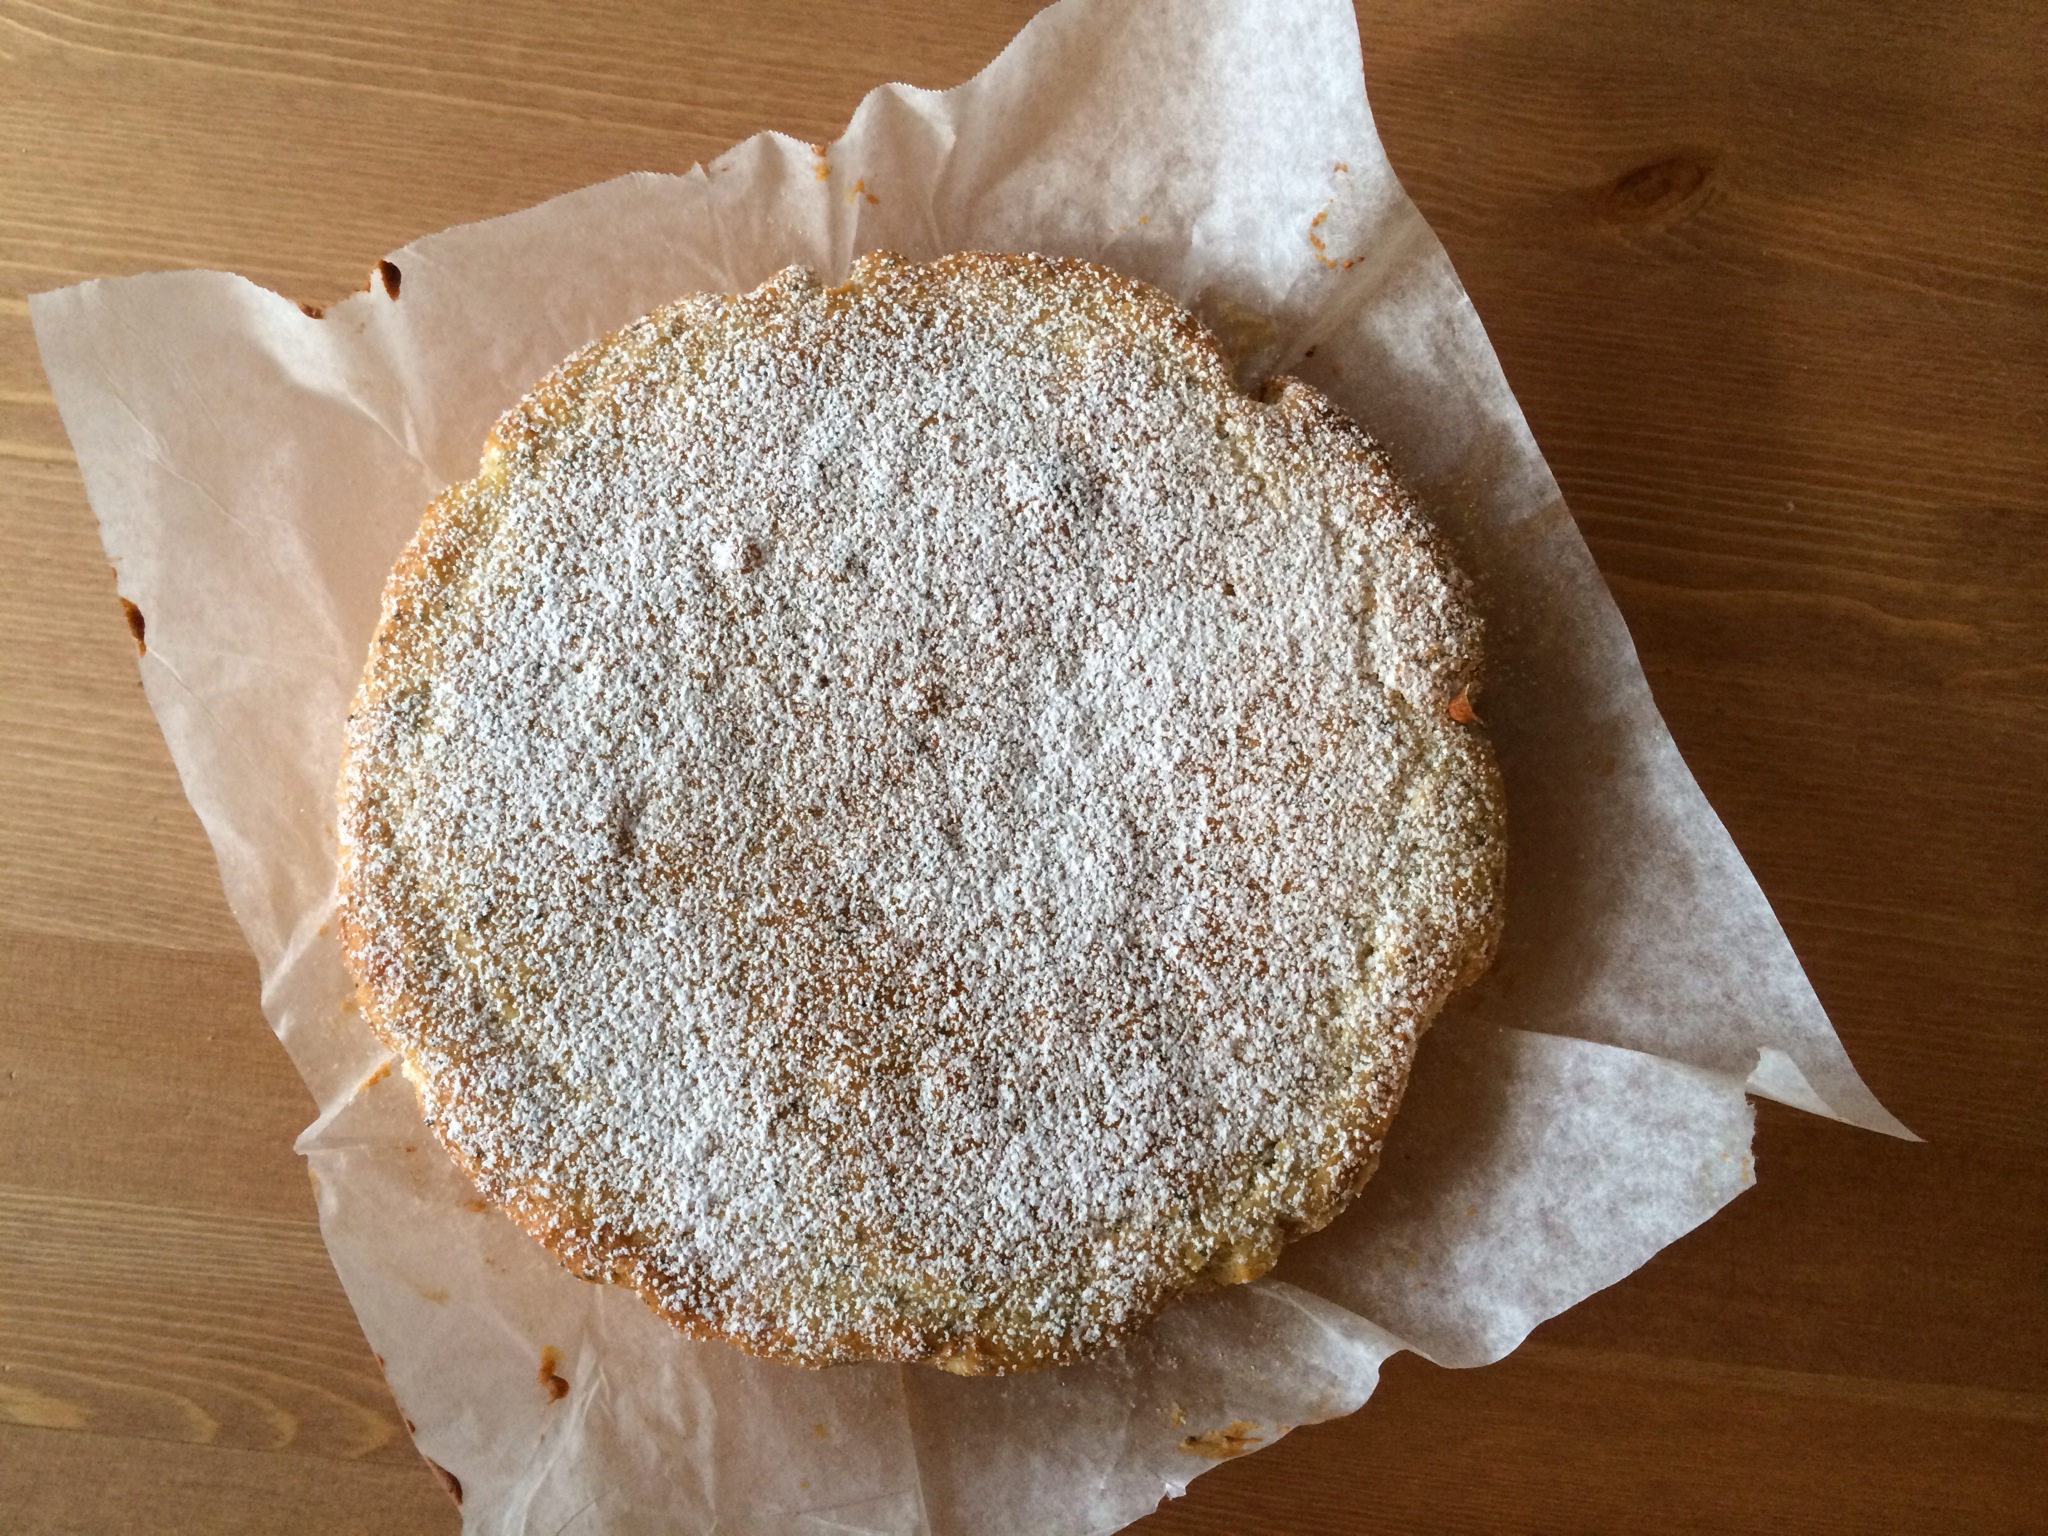
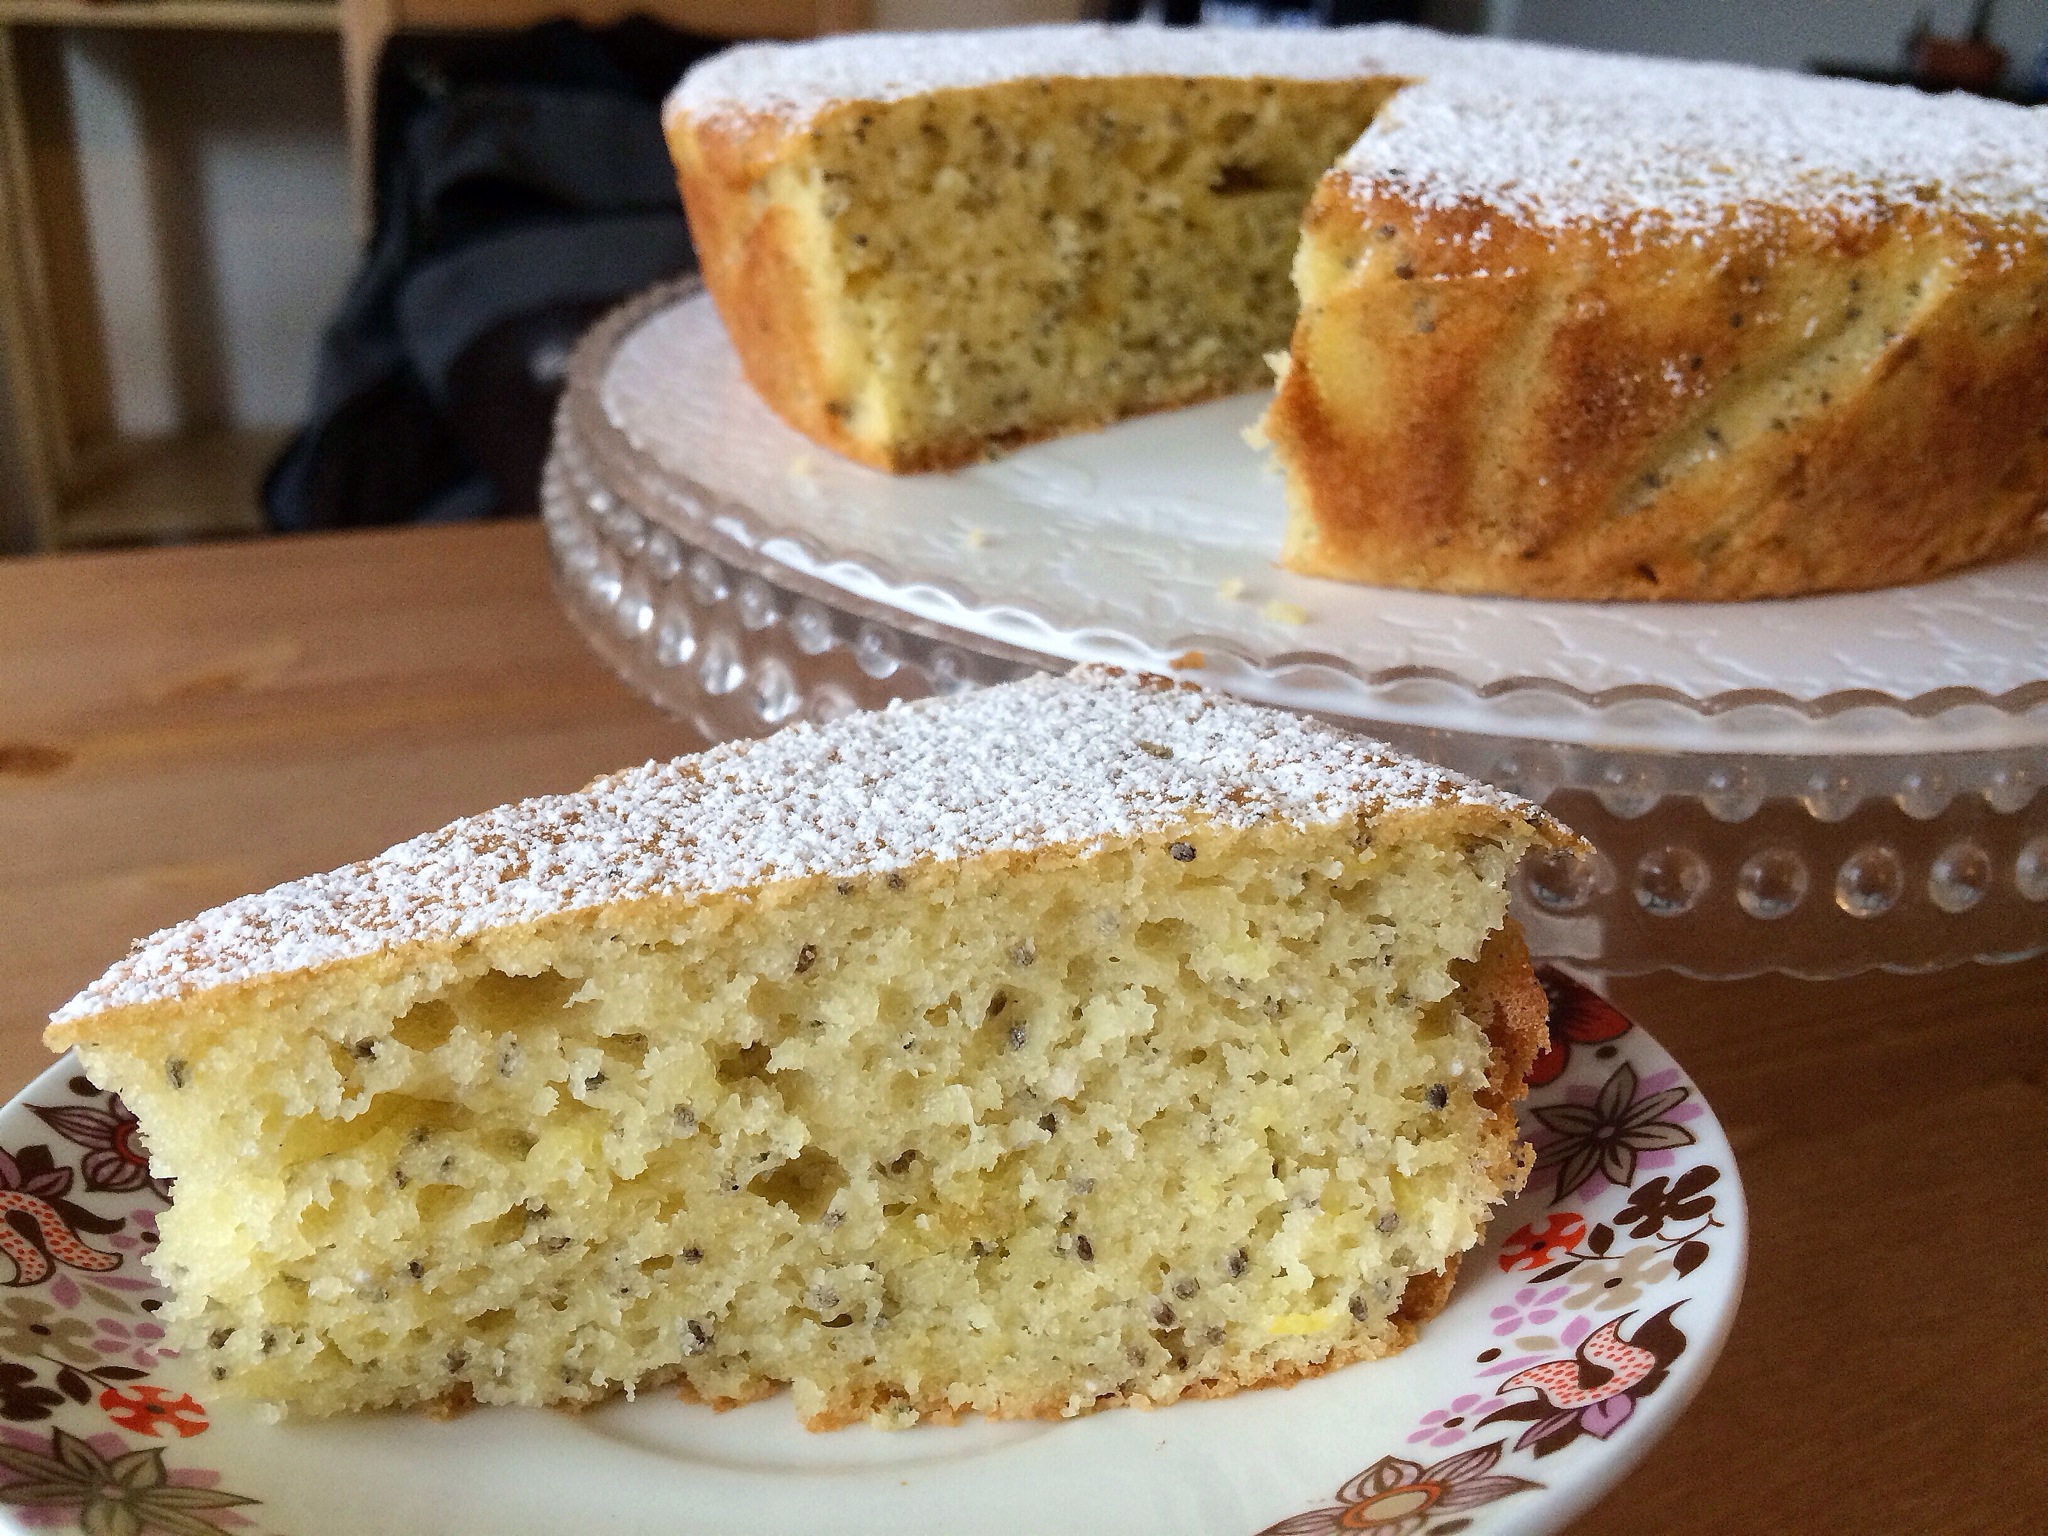
Other than that, I used the recipe and method as printed in the cook book, and got a great result – it was somehow dense, yet light and moist all at the same time, with the almonds really bringing out the flavour of the Amaretto, and the orange flavour sitting nicely with the almond. A bit of whipped cream would have been perfect with it (note to self for next time), and a little icing sugar dusted lightly on top wouldn’t have gone astray either (if I’d had any in the pantry). It’s one I’ll definitely make again (don’t think husband is going to give me much choice there), and I’ll double the recipe next time so I have some to bring to Nonna and Nonno!

IMG_8350

Advertisement

Cook this: Lemon chia seed cake

I’m basically a little old lady who loves a cup of tea and a piece of cake. I also really like a good lemon dessert, so I thought I’d make a lemon poppy seed cake. Then I realised I didn’t have poppy seeds… but I did have chia seeds. I figured they’d work pretty well in cake, which they really, really did.

IMG_2284-0.JPG

Ingredients:
– 1½ cups plain flour
– 1½ tsp baking powder
– 115g butter, softened slightly
– 125g caster sugar
– 2 large eggs, at room temperature
– zest and juice of 2 lemons
-180g plain Greek yoghurt
– 2 tbsp chia seeds
– 2 tbsp milk


Method:
1. Preheat the oven to 170°C and line a 9″ round cake tin with non-stick baking paper.
2. Combine the flour and baking powder in a bowl and set aside.
3. In a larger bowl, cream the butter and sugar with an electric beater for a few minutes and until light in colour, creamy and fluffy. Then, beat in the eggs one at a time, scraping down the sides as needed.
4. Beat in the lemon zest and juice next for a few minutes, until completely combined.
5. Stir in half the flour mixture with a spoon, then add the yoghurt and the chia seeds. Once they’re mixed in, add the rest of the flour and stir until completely incorporated.
6. Finally, mix in the milk, then pour the batter into the cake in and smooth out.
7. Bake for 35 minutes, until golden on top and a skewer inserted into the centre of the cake comes out clean.
8. Allow the cake to cool for 15 – 20 minutes in the tin, then remove and dust with a little icing sugar to serve.

IMG_2295-0.JPG


A quick guide to Vietnam’s street food!

Vietnam has some of the best street food in the world – its fresh, delicious, and insanely cheap. You can’t eat anything bad there, but here are some of the dishes I’d recommend getting your hands on when you visit Vietnam.


Banh Xeo
Vietnamese pancakes/crepes that are made slightly differently in different regions – my favourites were the ones made in Hoi An, as they were a bit thicker. Generally make with pork and shrimp, filled with bean shoots, and served with fresh herbs and a dipping sauce. Amazing.
IMG_5010 20140707-202814-73694242.jpg
Bun Cha
A pile of rice noodles, fresh herbs, freshly fried spring rolls and whatever meat they decide to serve you. You’ll also get some delicious sweet and sour sauce with a side of chilli so you can decide how hot you want it!20140707-153052-55852691.jpg


Banh Cuon
Steamed rice rolls/crepes filled with usually pork and prawn, and topped with tasty deep fried shallots and garlic, accompanied by the standard pile of fresh herbs and dipping sauce.
20140707-154433-56673721.jpg


Banh Mi
Vietnam’s famous baguettes, usually filled with some sort of pork, fresh coriander, chili and pickled cucumber, but they can take on other forms too, like the triangular one with Kewpie mayo I got at a market in Hoi An, below. I tried a few different versions over there, and regardless of the other variables, they were probably the best breads I’ve ever eaten.
20140707-154433-56673079.jpg


All-you-can-eat vendors
Places like Bale Well in Hoi An that provide basically a table spread of food for a tiny cost (around AUD$4 or $5 per person) are not only great value, but a fantastic way of trying out a heap of different things! Look out for tables full of food and happy people!

20140707-153911-56351572.jpg

Sticky rice
This is one of my absolute favourites to eat – generally available in both sweet and savoury (below we tried sticky rice with black beans, chickpeas and mung beans) varieties, there is no better way to end the night that a scoop of sweet sticky rice swimming in coconut milk and topped with a fresh mango!

IMG_4971


Donuts
Donuts seem to be quite popular in Vietnam. Whether on a stick and coated in soft sugar, or freshly fried and filled with coconut or banana, they’re all delicious. The ones I tried all had soft, tasty dough, with just enough “crunch” to bite into. Really lovely and cheap to pick up while walking through markets.

20140707-154433-56673376.jpg


Bakery cakes
Thanks to the French, there are a ton of gorgeous little bakeries with beautiful, delicate cakes and pastries in the windows. My favourites were these small coconut treats, that were basically a pastry crust with a cakey filling and topped with a little sprinkle of sesame seeds.

20140707-153911-56351887.jpg

Cook this: White chocolate, raspberry & pistachio brownies

IMG_4767

It seemed like a good idea at the time. How many stories start like this and end really, really badly? A high percentage, right? I’m still not sure how, because I’m usually the poster girl for these kind of stuff ups, but this recipe is somehow the exception to the rule and miraculously turned out really, really well!


Ingredients:
– 300g white chocolate, broken into pieces
– 190g butter, chopped
– 1 cup caster sugar
– 285g plain flour, sifted
– 3 eggs at room temperature, lightly whisked
– 1 heaped cup of frozen raspberries
– 85g pistachios, slightly crushed


Method:
1. Pre-heat the oven to 160°C and line a lamington tray with non-stick baking paper.
2. Melt the chocolate and butter in a heatproof bowl over a small pot of simmering water. Stir until completely melted and smooth, and set aside for 5 minutes to cool.
3. Stir in the eggs with a wooden spoon, then the sugar and the sifted flour.
4. Gently stir in the pistachios, then the raspberries – try not to over stir or the batter will turn pink.
5. Pour the batter into the tin, smooth it out and bake for 40 minutes, or until lightly golden and set, but still a little chewy inside as a good brownie should be!
6. Allow to cool completely in the tin before taking it out to slice up.


It’s like a super thick, dense mud cake/brownie hybrid. You just need to take care not to over cook it as it’ll lose its chewy brownie-like centre. I’m a big fan of white chocolate for a bit of a change every now and then, and I’m sure you could use this brownie base to mix just about anything in – it’s pretty versatile. Enjoy!


IMG_4773