Cook this: Lemon chia seed cake

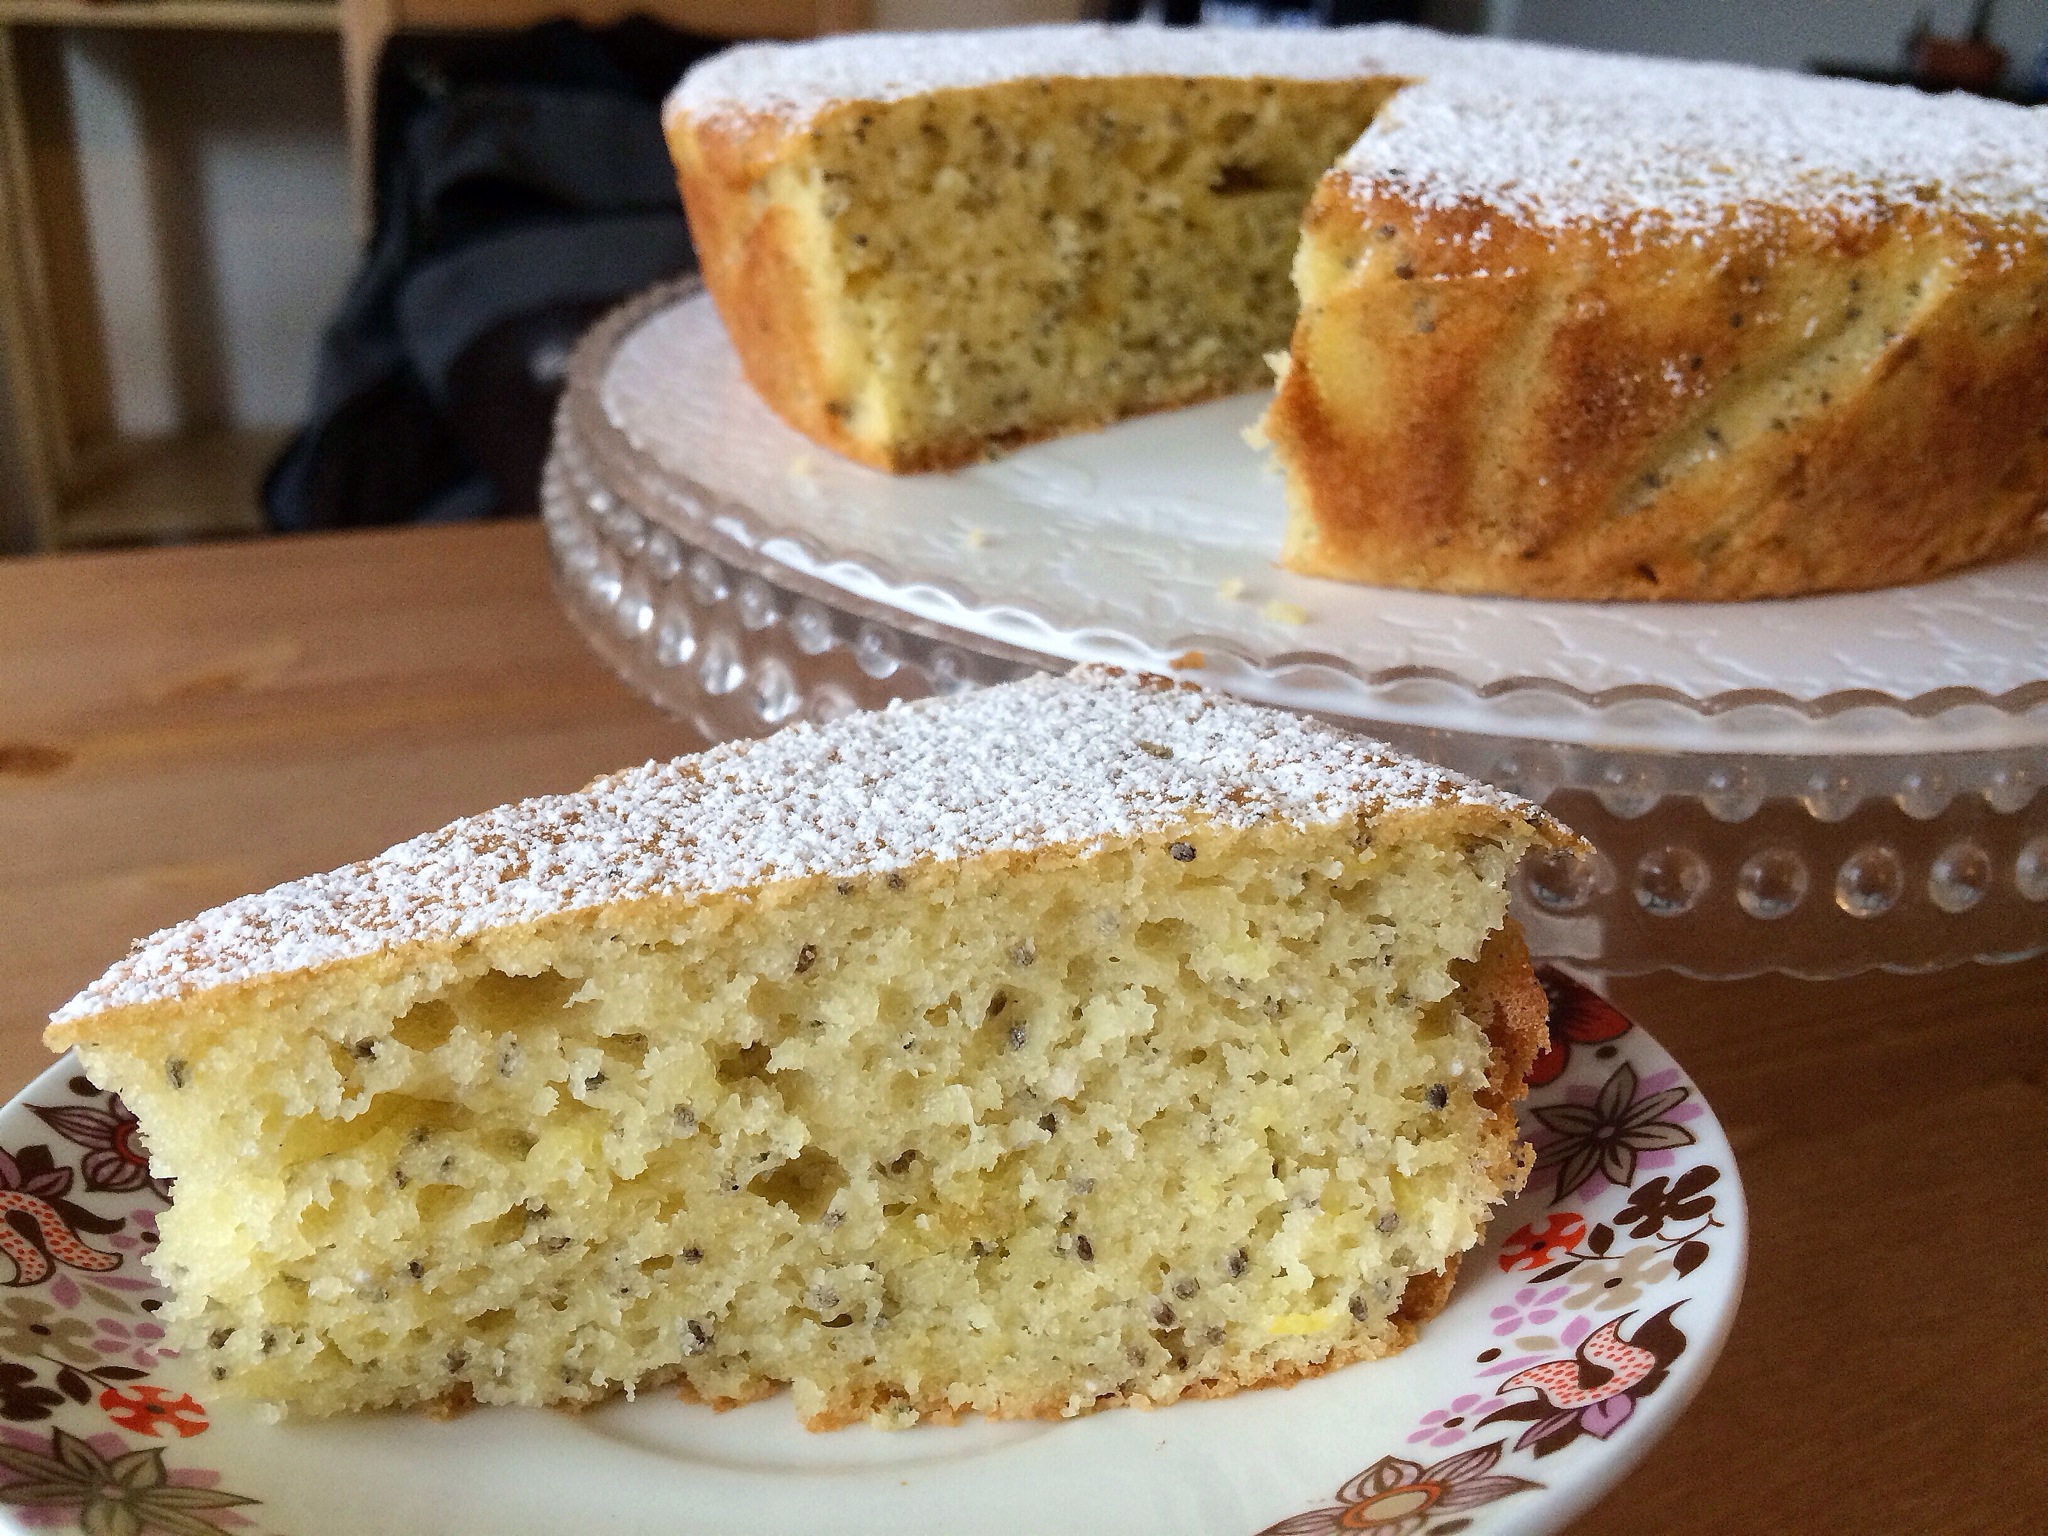
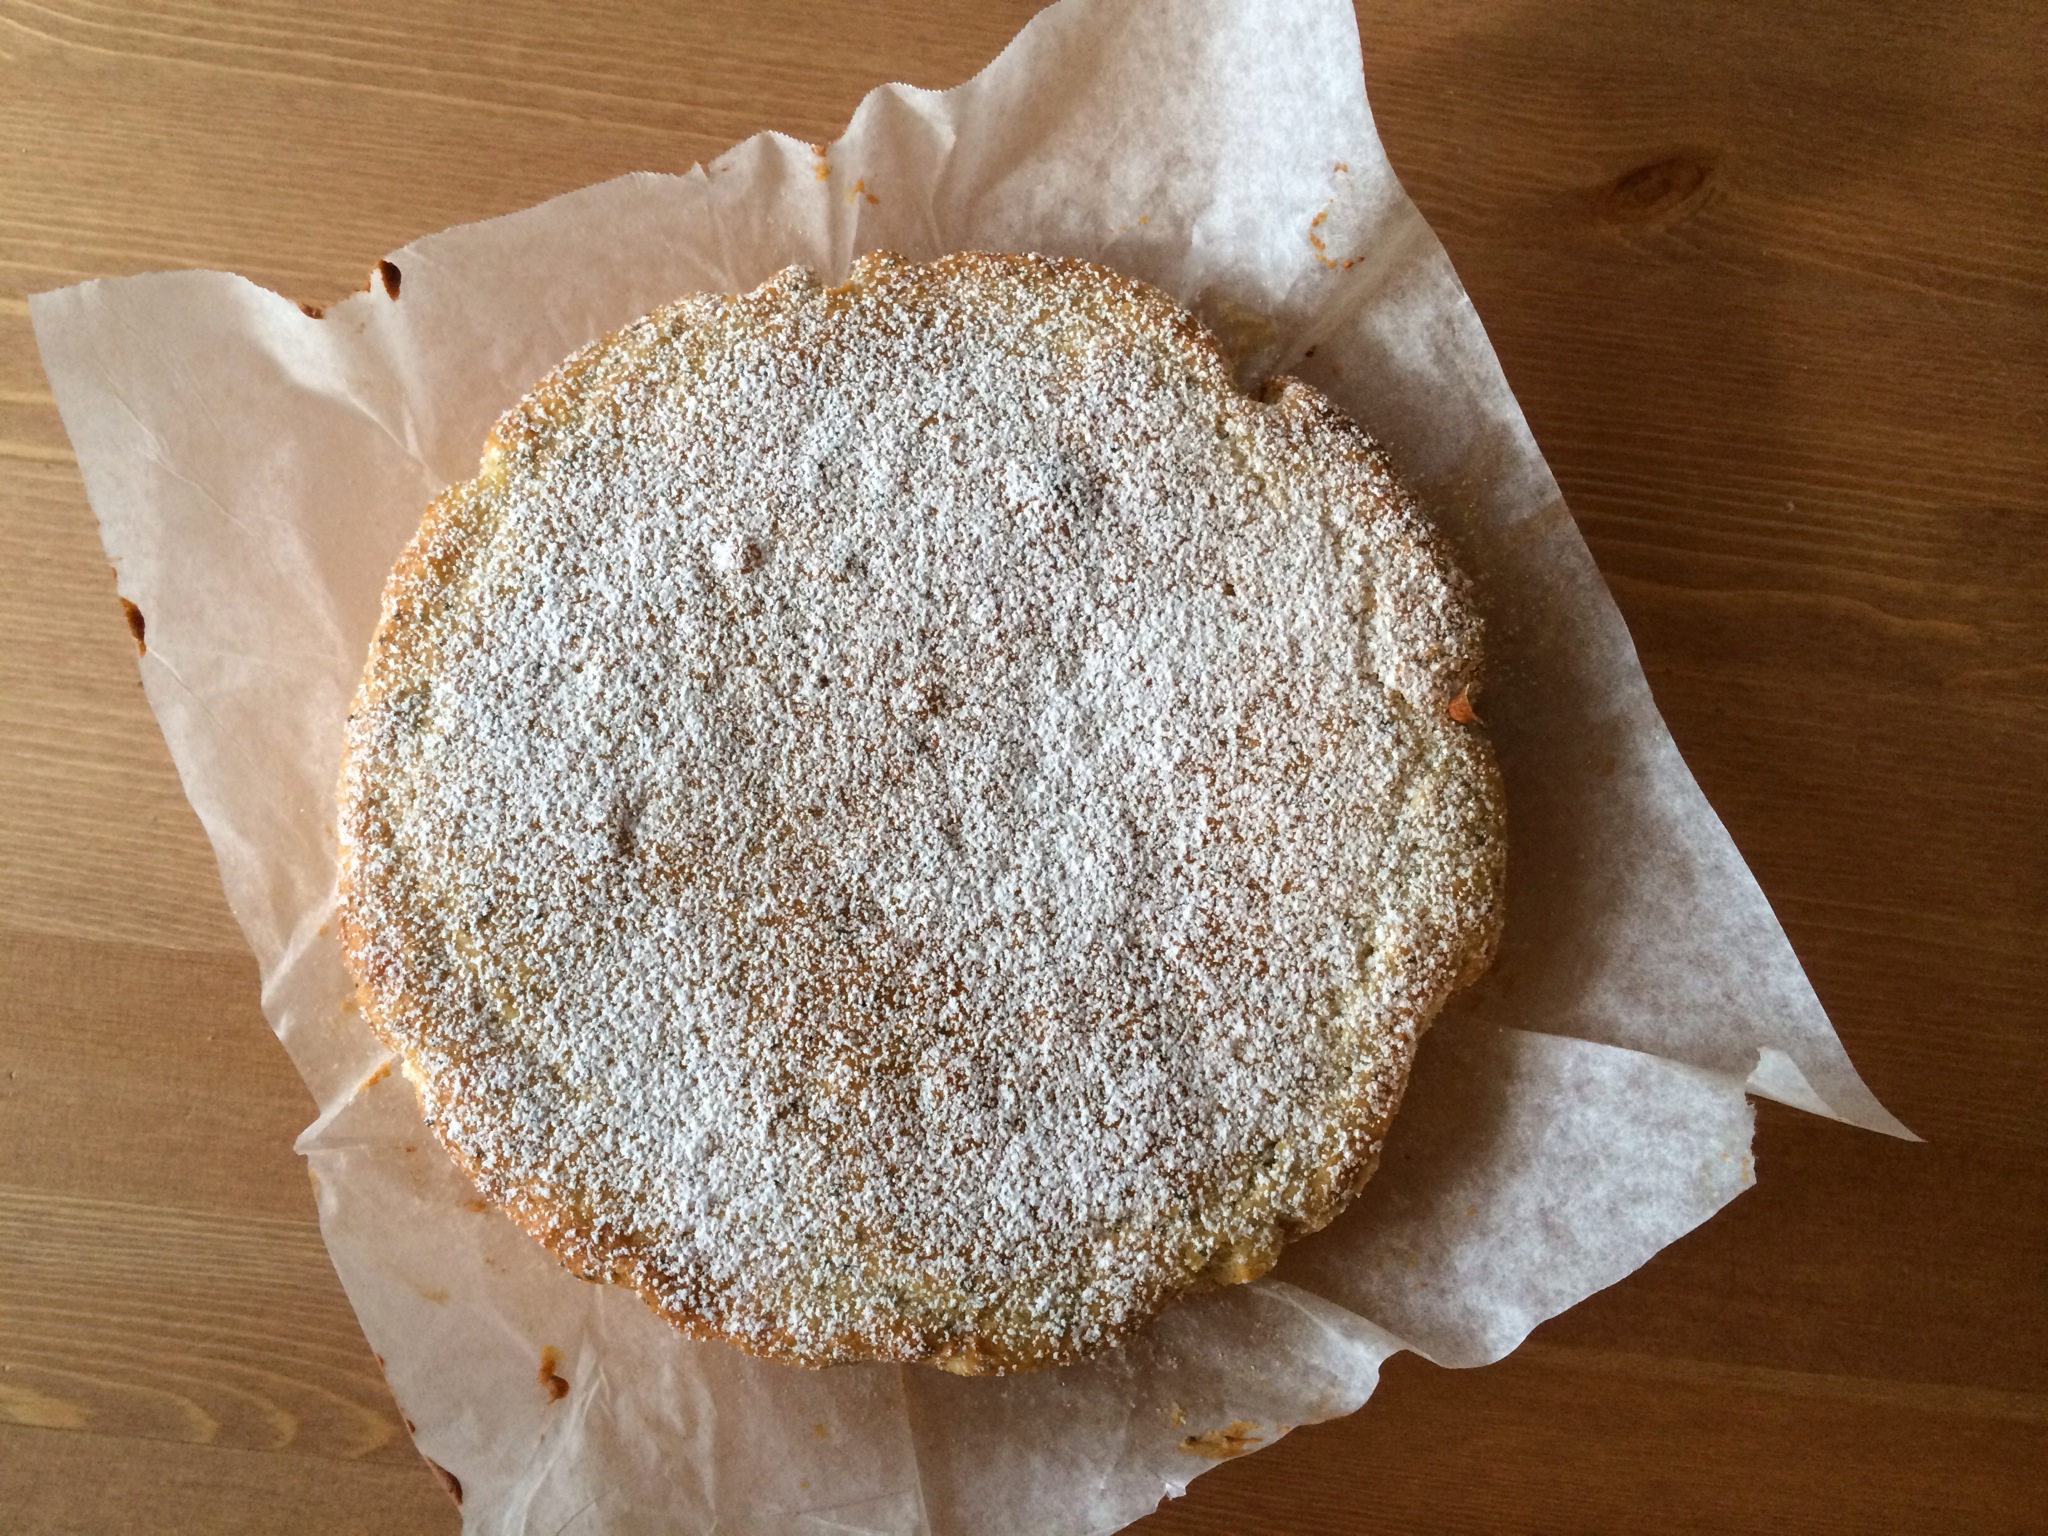
I’m basically a little old lady who loves a cup of tea and a piece of cake. I also really like a good lemon dessert, so I thought I’d make a lemon poppy seed cake. Then I realised I didn’t have poppy seeds… but I did have chia seeds. I figured they’d work pretty well in cake, which they really, really did.

IMG_2284-0.JPG

Ingredients:
– 1½ cups plain flour
– 1½ tsp baking powder
– 115g butter, softened slightly
– 125g caster sugar
– 2 large eggs, at room temperature
– zest and juice of 2 lemons
-180g plain Greek yoghurt
– 2 tbsp chia seeds
– 2 tbsp milk


Method:
1. Preheat the oven to 170°C and line a 9″ round cake tin with non-stick baking paper.
2. Combine the flour and baking powder in a bowl and set aside.
3. In a larger bowl, cream the butter and sugar with an electric beater for a few minutes and until light in colour, creamy and fluffy. Then, beat in the eggs one at a time, scraping down the sides as needed.
4. Beat in the lemon zest and juice next for a few minutes, until completely combined.
5. Stir in half the flour mixture with a spoon, then add the yoghurt and the chia seeds. Once they’re mixed in, add the rest of the flour and stir until completely incorporated.
6. Finally, mix in the milk, then pour the batter into the cake in and smooth out.
7. Bake for 35 minutes, until golden on top and a skewer inserted into the centre of the cake comes out clean.
8. Allow the cake to cool for 15 – 20 minutes in the tin, then remove and dust with a little icing sugar to serve.

IMG_2295-0.JPG


Advertisement

Cook this: Peanut Butter Nutella Cookies

IMG_5697
Anyone who knows anything about me knows that I’m a chronic chocoholic, with a particular weakness for Nutella, which I inherited from my dad. I also LOVE peanut butter. Sweet chocolate + salty peanut butter = happy Jess.

I came across a recipe for Nutella Peanut Butter Cookies at Averie Cooks the other day. As far as I was concerned, my hands were tied. As usual, I played around with the recipe a bit (I can’t follow instructions in the kitchen without messing around with them), and here’s what happened…


Ingredients to make around 20 cookies..
– 1 large egg
– about ⅘ of a 220g jar of Nutella
– ½ cup crunchy peanut butter – my weapon of choice is Mayvers Crunchy Peanut Butter
– ½ cup dark brown sugar, packed
– 2 tsp vanilla extract
– ½ cup all-purpose flour
– 1 tsp baking soda
– pinch of salt
– 180g dark chocolate, chopped

IMG_5707

To create heaven…

1. Combine the egg, Nutella, peanut butter, brown sugar and vanilla in an electric mixer or with a hand beater for about 5 minutes – you’ll know it’s done when it’s smoother and oily and comes together nicely.

2. Add the flour, baking soda, optional salt and beat to incorporate. The dough will be quite different to regular cookie dough; it won’t really come together and will be a little flaky. All good, it’ll be fine. Mix in the chocolate chunks.

3. Take scoops of approximately 1 tablespoon (you can go bigger if you prefer) and use your hands to compact them into a ball. Place a sheet of non-stick baking paper on a large plate or tray, and place the cookies on top. Cover with plastic wrap and refrigerate for a bare minimum of 2 – 3 hours – I left them overnight.

4. Preheat oven to 180°C, line 2 baking sheets with non-stick baking paper. Place your cookies on the baking trays, leaving an inch or so between (they’ll spread quite a bit). Bake for around 10 minutes, or until top have just set, even if slightly under baked in the center. It’ll be tempting to let them cook a little longer, but they will firm up as they cool, and baking too long will result in cookies that set up too crisp.

5. Leave the cookies to cool on their trays for 10 minutes before moving them to a cooling rack to come down to room temperature. Or just wait until they’re cool enough to handle and tuck in.


A little crunchy on the outside, gooey and fudgy on the inside. Very sweet, a little salty, completely delicious. There’s not much I’d change about this recipe – the only thing I can think of would be to maybe add some crushed, toasted peanuts to balance out the sugar a little more. Really glad I went on a 12km walk this morning. Feel like I might need to walk another 12km now. Worth it. Enjoy.

Photo Journal: Nonna’s chocolate roll cake

My family is Italian, which means two things – the food is delicious, and recipes are rarely written down. They’re just remembered, somehow. One of the recipes I really wanted to learn to bake myself and ensure was recorded was my great grandmother’s chocolate roll cake. It’s my dad’s favourite, and he has some really fond memories around this cake. I was really excited when my auntie (dad’s sister) offered to show me the ropes and take me through the whole procedure.

IMG_0535


IMG_0558

IMG_0583

IMG_0588

IMG_0591

IMG_0612

IMG_0627

Cook this: White chocolate, raspberry & pistachio brownies

IMG_4767

It seemed like a good idea at the time. How many stories start like this and end really, really badly? A high percentage, right? I’m still not sure how, because I’m usually the poster girl for these kind of stuff ups, but this recipe is somehow the exception to the rule and miraculously turned out really, really well!


Ingredients:
– 300g white chocolate, broken into pieces
– 190g butter, chopped
– 1 cup caster sugar
– 285g plain flour, sifted
– 3 eggs at room temperature, lightly whisked
– 1 heaped cup of frozen raspberries
– 85g pistachios, slightly crushed


Method:
1. Pre-heat the oven to 160°C and line a lamington tray with non-stick baking paper.
2. Melt the chocolate and butter in a heatproof bowl over a small pot of simmering water. Stir until completely melted and smooth, and set aside for 5 minutes to cool.
3. Stir in the eggs with a wooden spoon, then the sugar and the sifted flour.
4. Gently stir in the pistachios, then the raspberries – try not to over stir or the batter will turn pink.
5. Pour the batter into the tin, smooth it out and bake for 40 minutes, or until lightly golden and set, but still a little chewy inside as a good brownie should be!
6. Allow to cool completely in the tin before taking it out to slice up.


It’s like a super thick, dense mud cake/brownie hybrid. You just need to take care not to over cook it as it’ll lose its chewy brownie-like centre. I’m a big fan of white chocolate for a bit of a change every now and then, and I’m sure you could use this brownie base to mix just about anything in – it’s pretty versatile. Enjoy!


IMG_4773

Cook this: Easy buttermilk pancakes

Photograph © Jess Carey 2014

These pancakes are literally easy enough to roll out of bed at 6:30am, have a shower, do your hair, put on a bit of make up, get dressed for work, and still have them on the table by 7:00am. This is by no means the “perfect” pancake, but it’s quick and easy, super delicious, and very versatile. It’s also a bit more exciting than cereal and toast, because some mornings, you need a bit of convincing to get out of bed. Breakfast win.

Here’s what you’ll need for two decent pancake stacks (this mixture made 8 pancakes):
– 1⅓ cups self raising flour
– ¼ cup castor sugar
– 40g butter, melted
– 1 large egg
– 1½ cups buttermilk
– 2 tbsp. water
– 2 tsp vanilla extract
– butter or spray oil for cooking


1. Sift the flour into a large bowl and add in the sugar.

2. Use a wooden spoon (controversial, I know, wooden spoon instead of whisk!) to then mix in the butter, egg, milk, water and vanilla until everything is well and truly combined and smooth. At this stage, feel free to add in anything else that tickles your fancy – orange or lemon zest, shredded coconut, blueberries, a swirl of Nutella, anything goes!

3. Heat a non-stick fry pan over medium heat (I really need to stress here that medium heat is essential. I got a little excited and cranked the heat up to high for the first batch of pancakes, and they came off crisp and burnt. Luckily, husband actually quite likes a burnt pancake, but lesson learnt – you can’t rush pancake perfection!), and use either cooking spray oil or a little butter to coat the pan before dropping your pancake batter on. I used ⅓ measuring cups to measure out the mixture and they made nicely sized pancakes, but if you want miniatures or pancakes the size of dinner plates or anything in between, go nuts!

4. Let them cook on one side until you can start to see the bubbles forming in the batter – check they’re browned (but not burnt), then flip them over and let them cook for another minute or two on the other side.

5. To serve them up, I stacked mine and topped them with coconut yoghurt and diced plums, but this is where the fun starts and you can just go crazy on these guys and top them with whatever the hell you want!